
Multiple teeth
Replacing several teeth with implant crowns
Direction indicators were used to check the angle of the prepared sites before the implants were placed. Ten weeks later the site had healed and an impression was taken for the laboratory. The final abutments were seated with an acrylic jig, and temporary crowns shaped the gum. The final implant crowns were made from an impression of their metal framework, fitted, and reviewed at three months.
Before and after
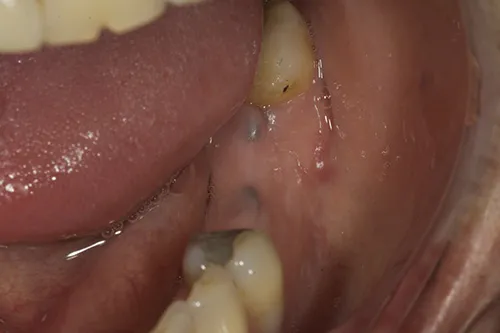
Before 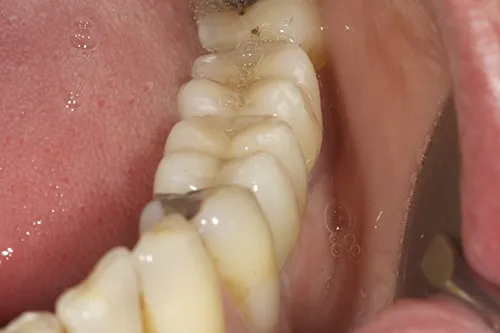
After
Step by step
Every stage of the treatment, in order. Photos from the practice archive.
Healed preoperative implant site 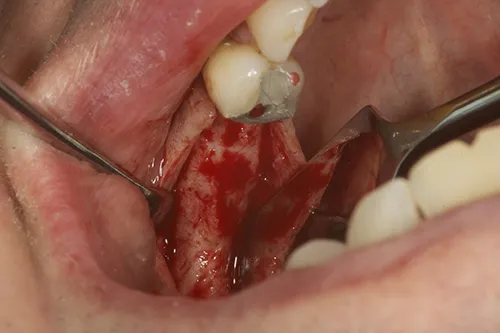
Implant bed exposed 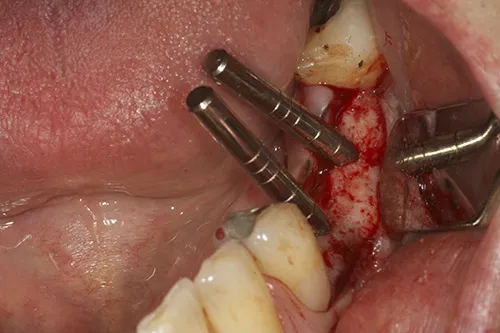
Direction indicators used to ensure correct angulation of prepared site for implant placement 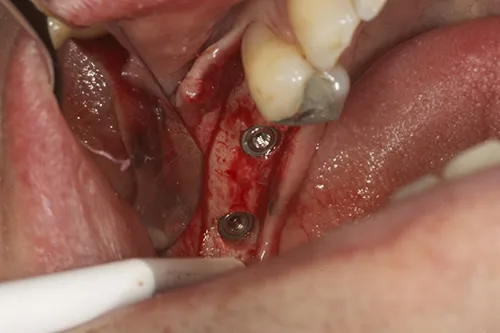
Implant fixtures placed in situ 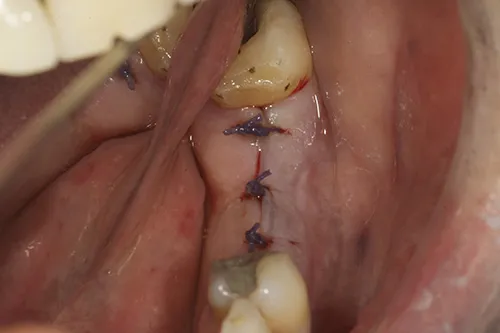
Implant site closed 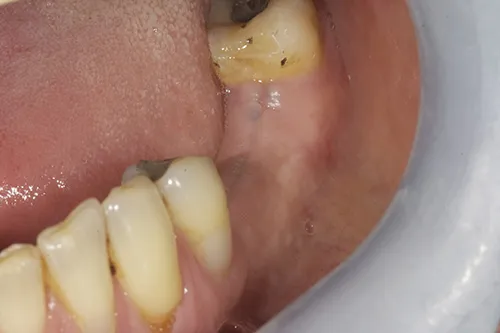
Healed surgical site 10 weeks later 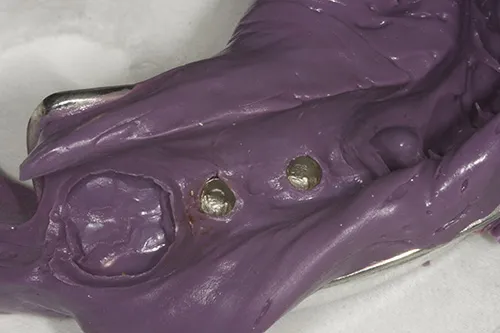
Impression taken of implant fixtures for laboratory communication 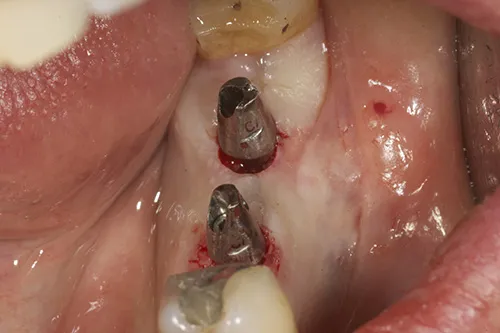
Implant fixtures exposed and permanent abutments tried in 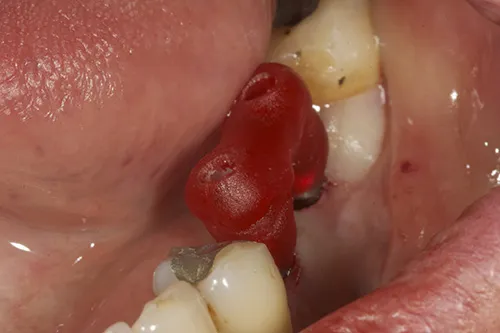
Acrylic jig used to tighten permanent abutments in exact position 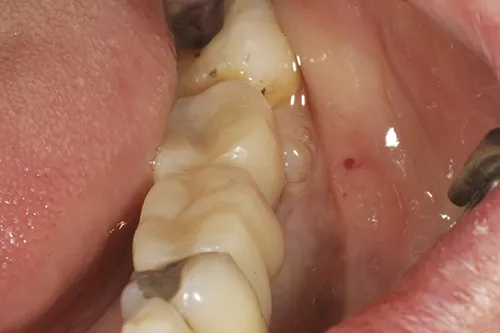
Temporary crowns placed in situ to develop emergence profile 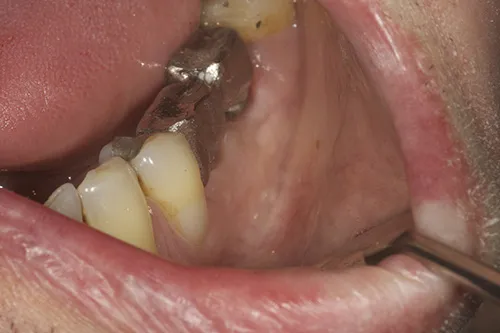
Metal framework of permanent crowns impressioned in situ to fabricate exact permanent implant crowns 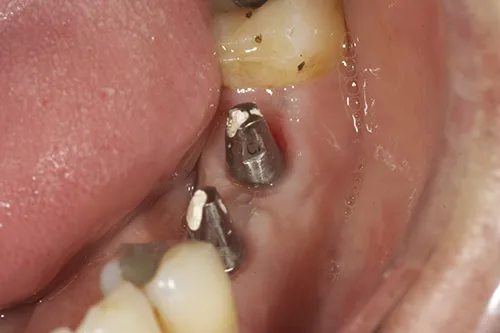
Fully developed emergence profile 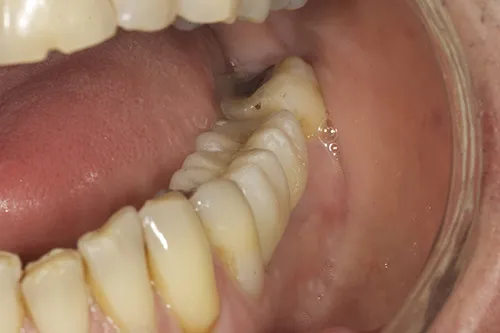
Retracted view of permanent implant crowns in situ 3 month review of final implant crowns in situ
Start with a conversation.
Book a consultation to talk through your options. You’ll leave with a clear, fully costed plan to take home and think over.